Tapping the layer icon in the control bar will reveal the Layers pop-up window.
You can add a new layer with the plus button (top right).

At any time there is one active layer - this is the layer you are painting in. Tapping on any other layer will make that layer active.
Gently swipe the layer to the left to reveal the delete button.
To move a layer, you can press and hold, and then drag: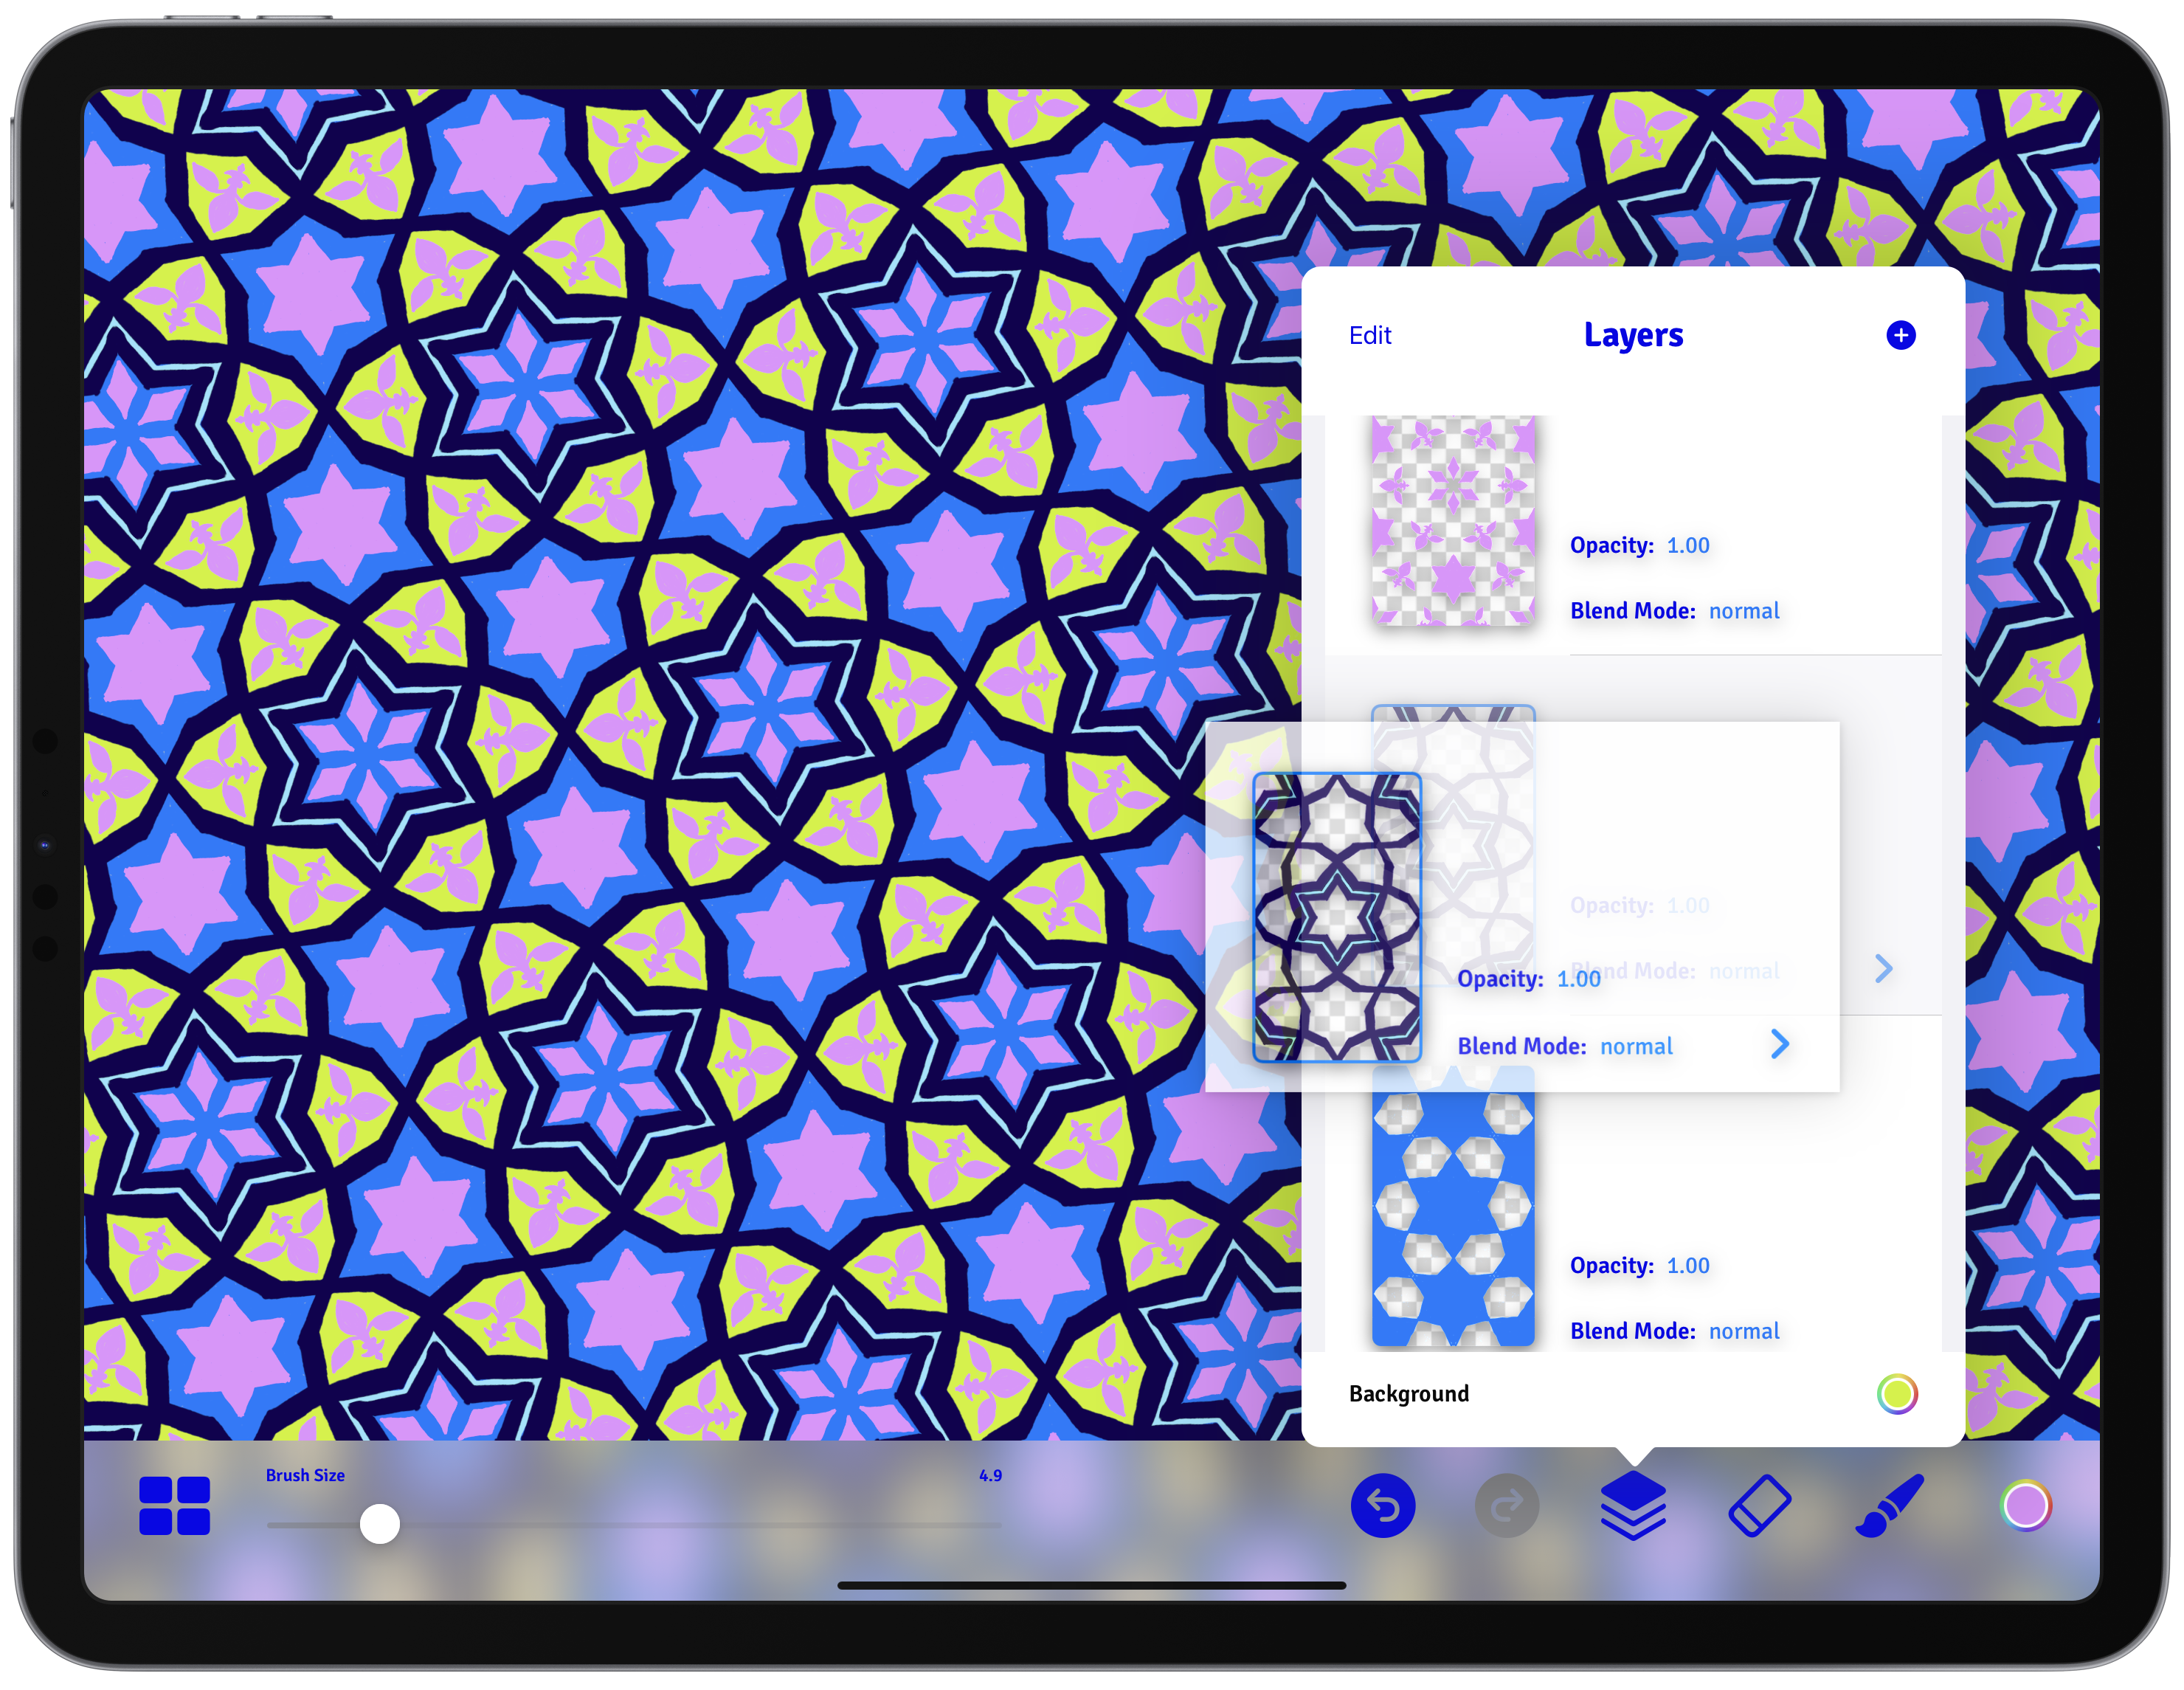
Or you can press edit (top left) to enter edit mode where you can easily delete and reorder layer: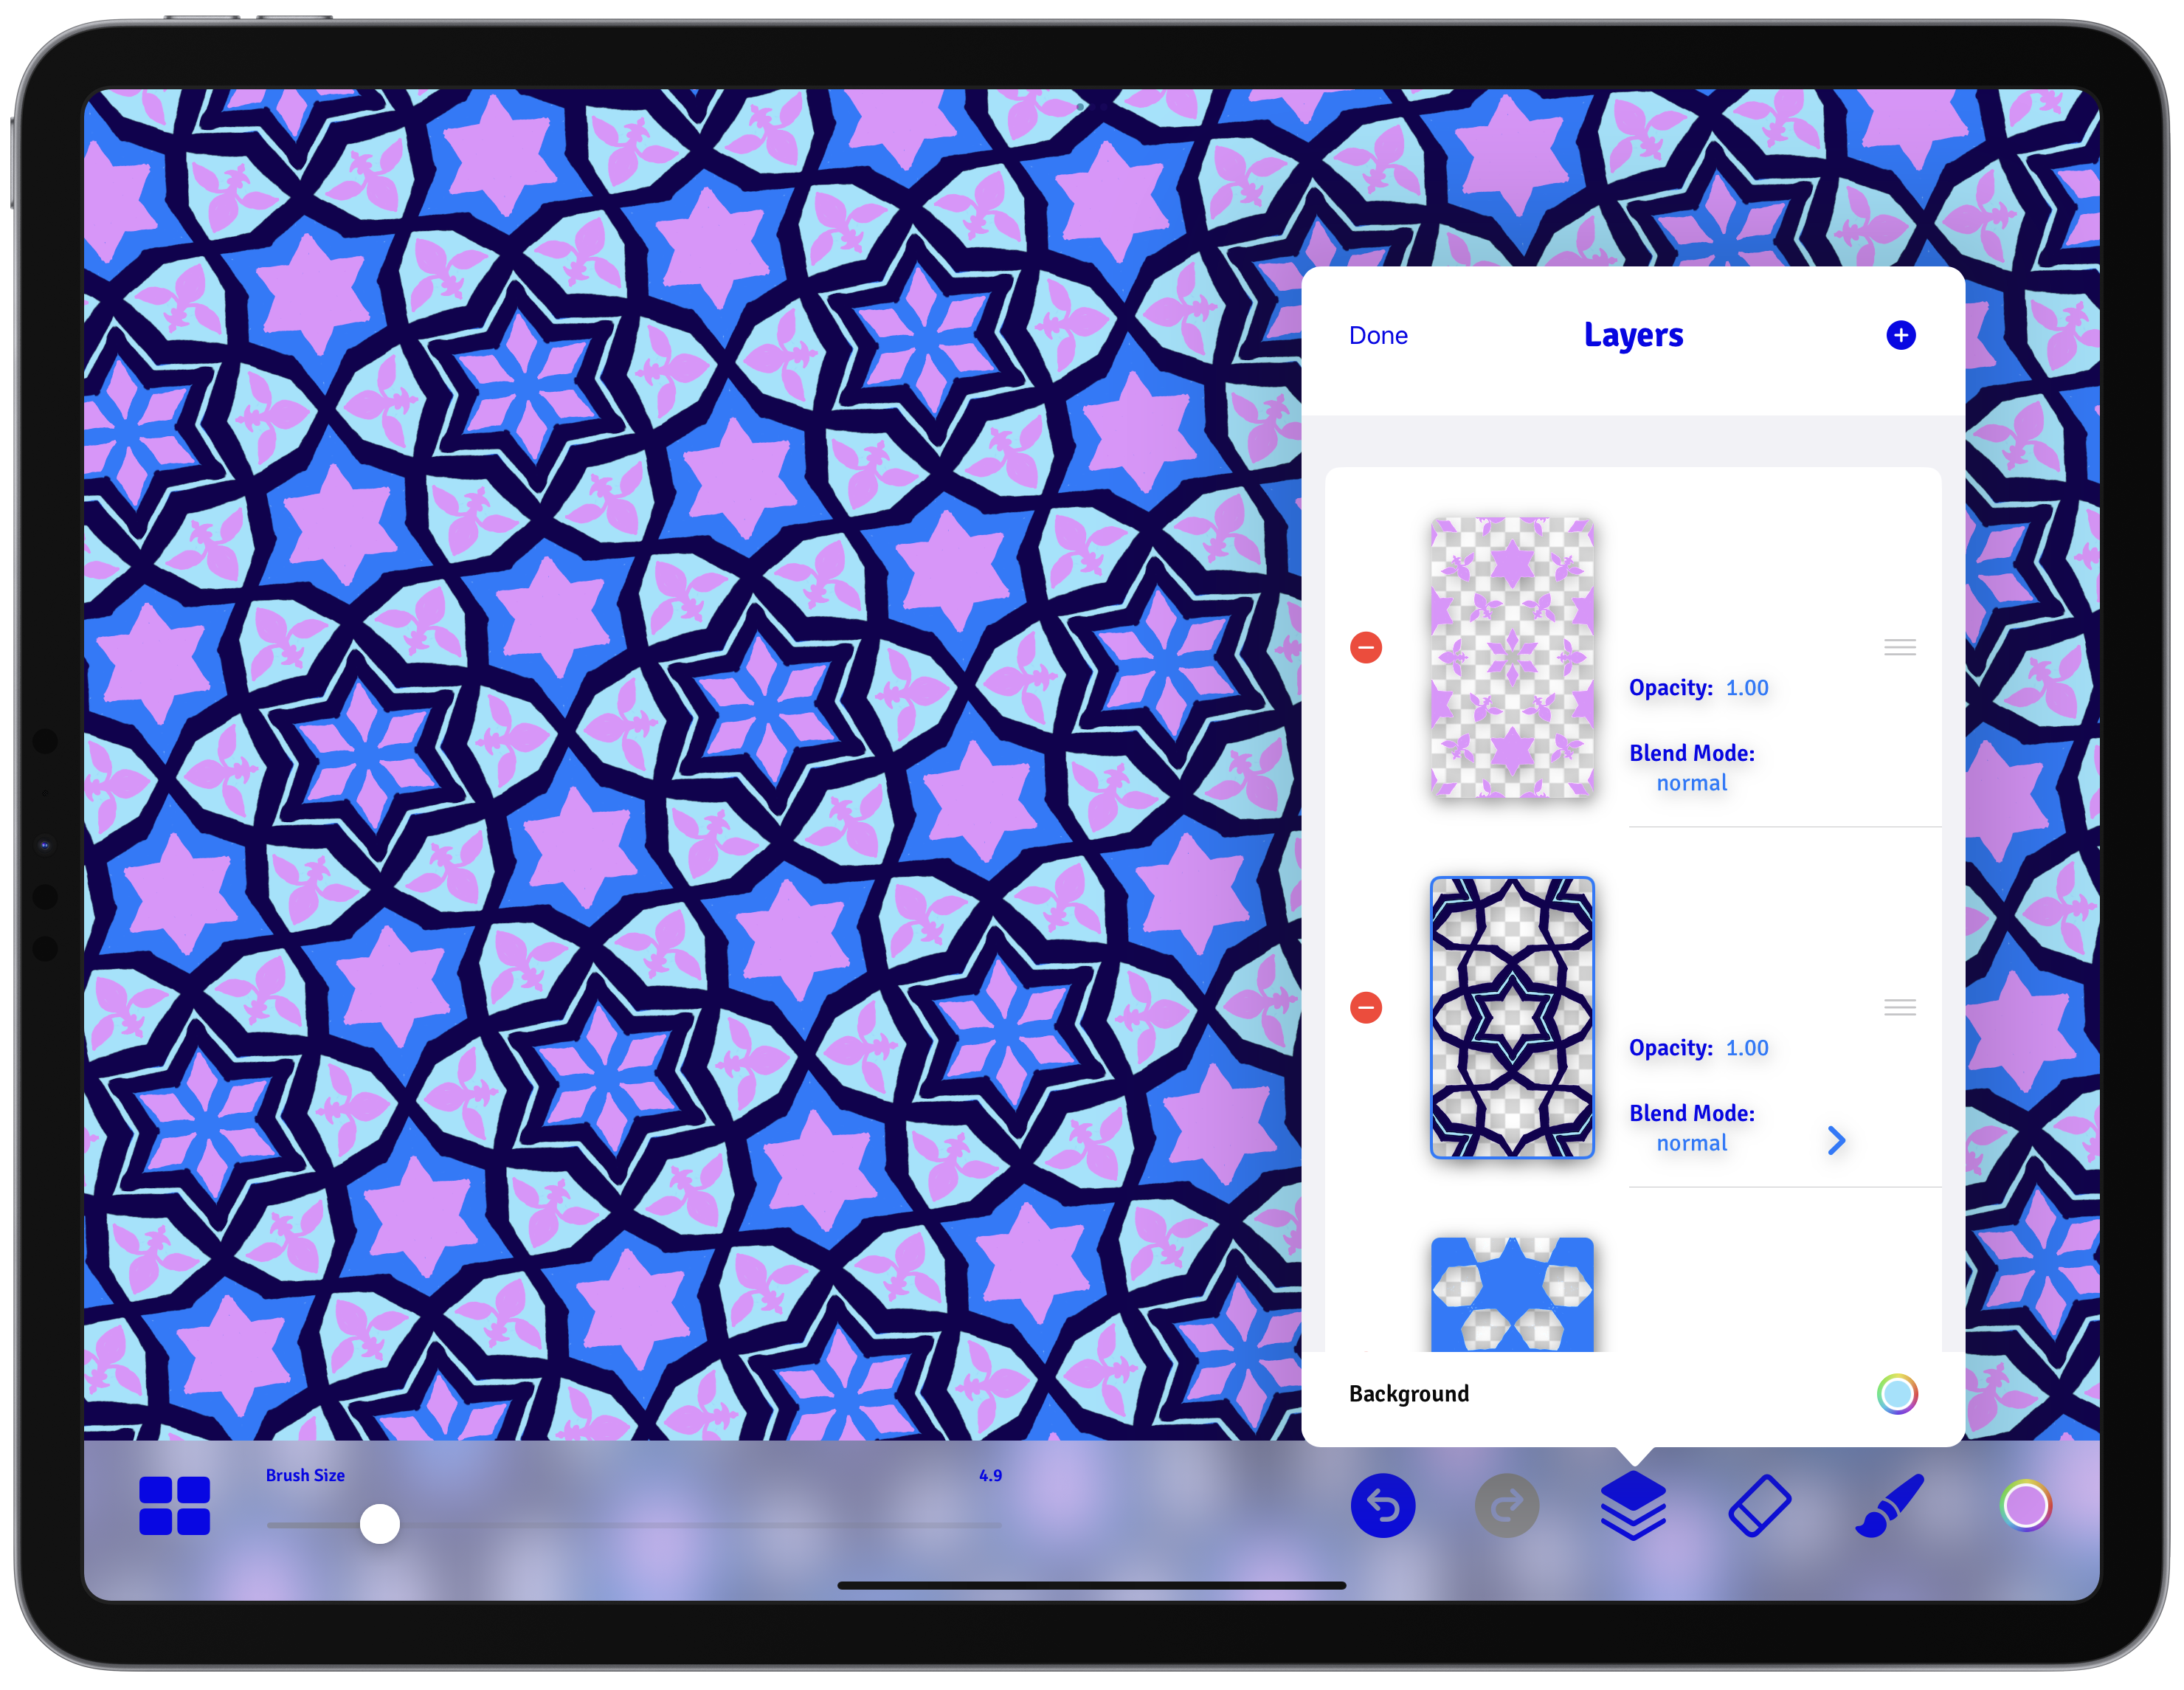
At the bottom of layer pop-up is a color swatch to change the background color: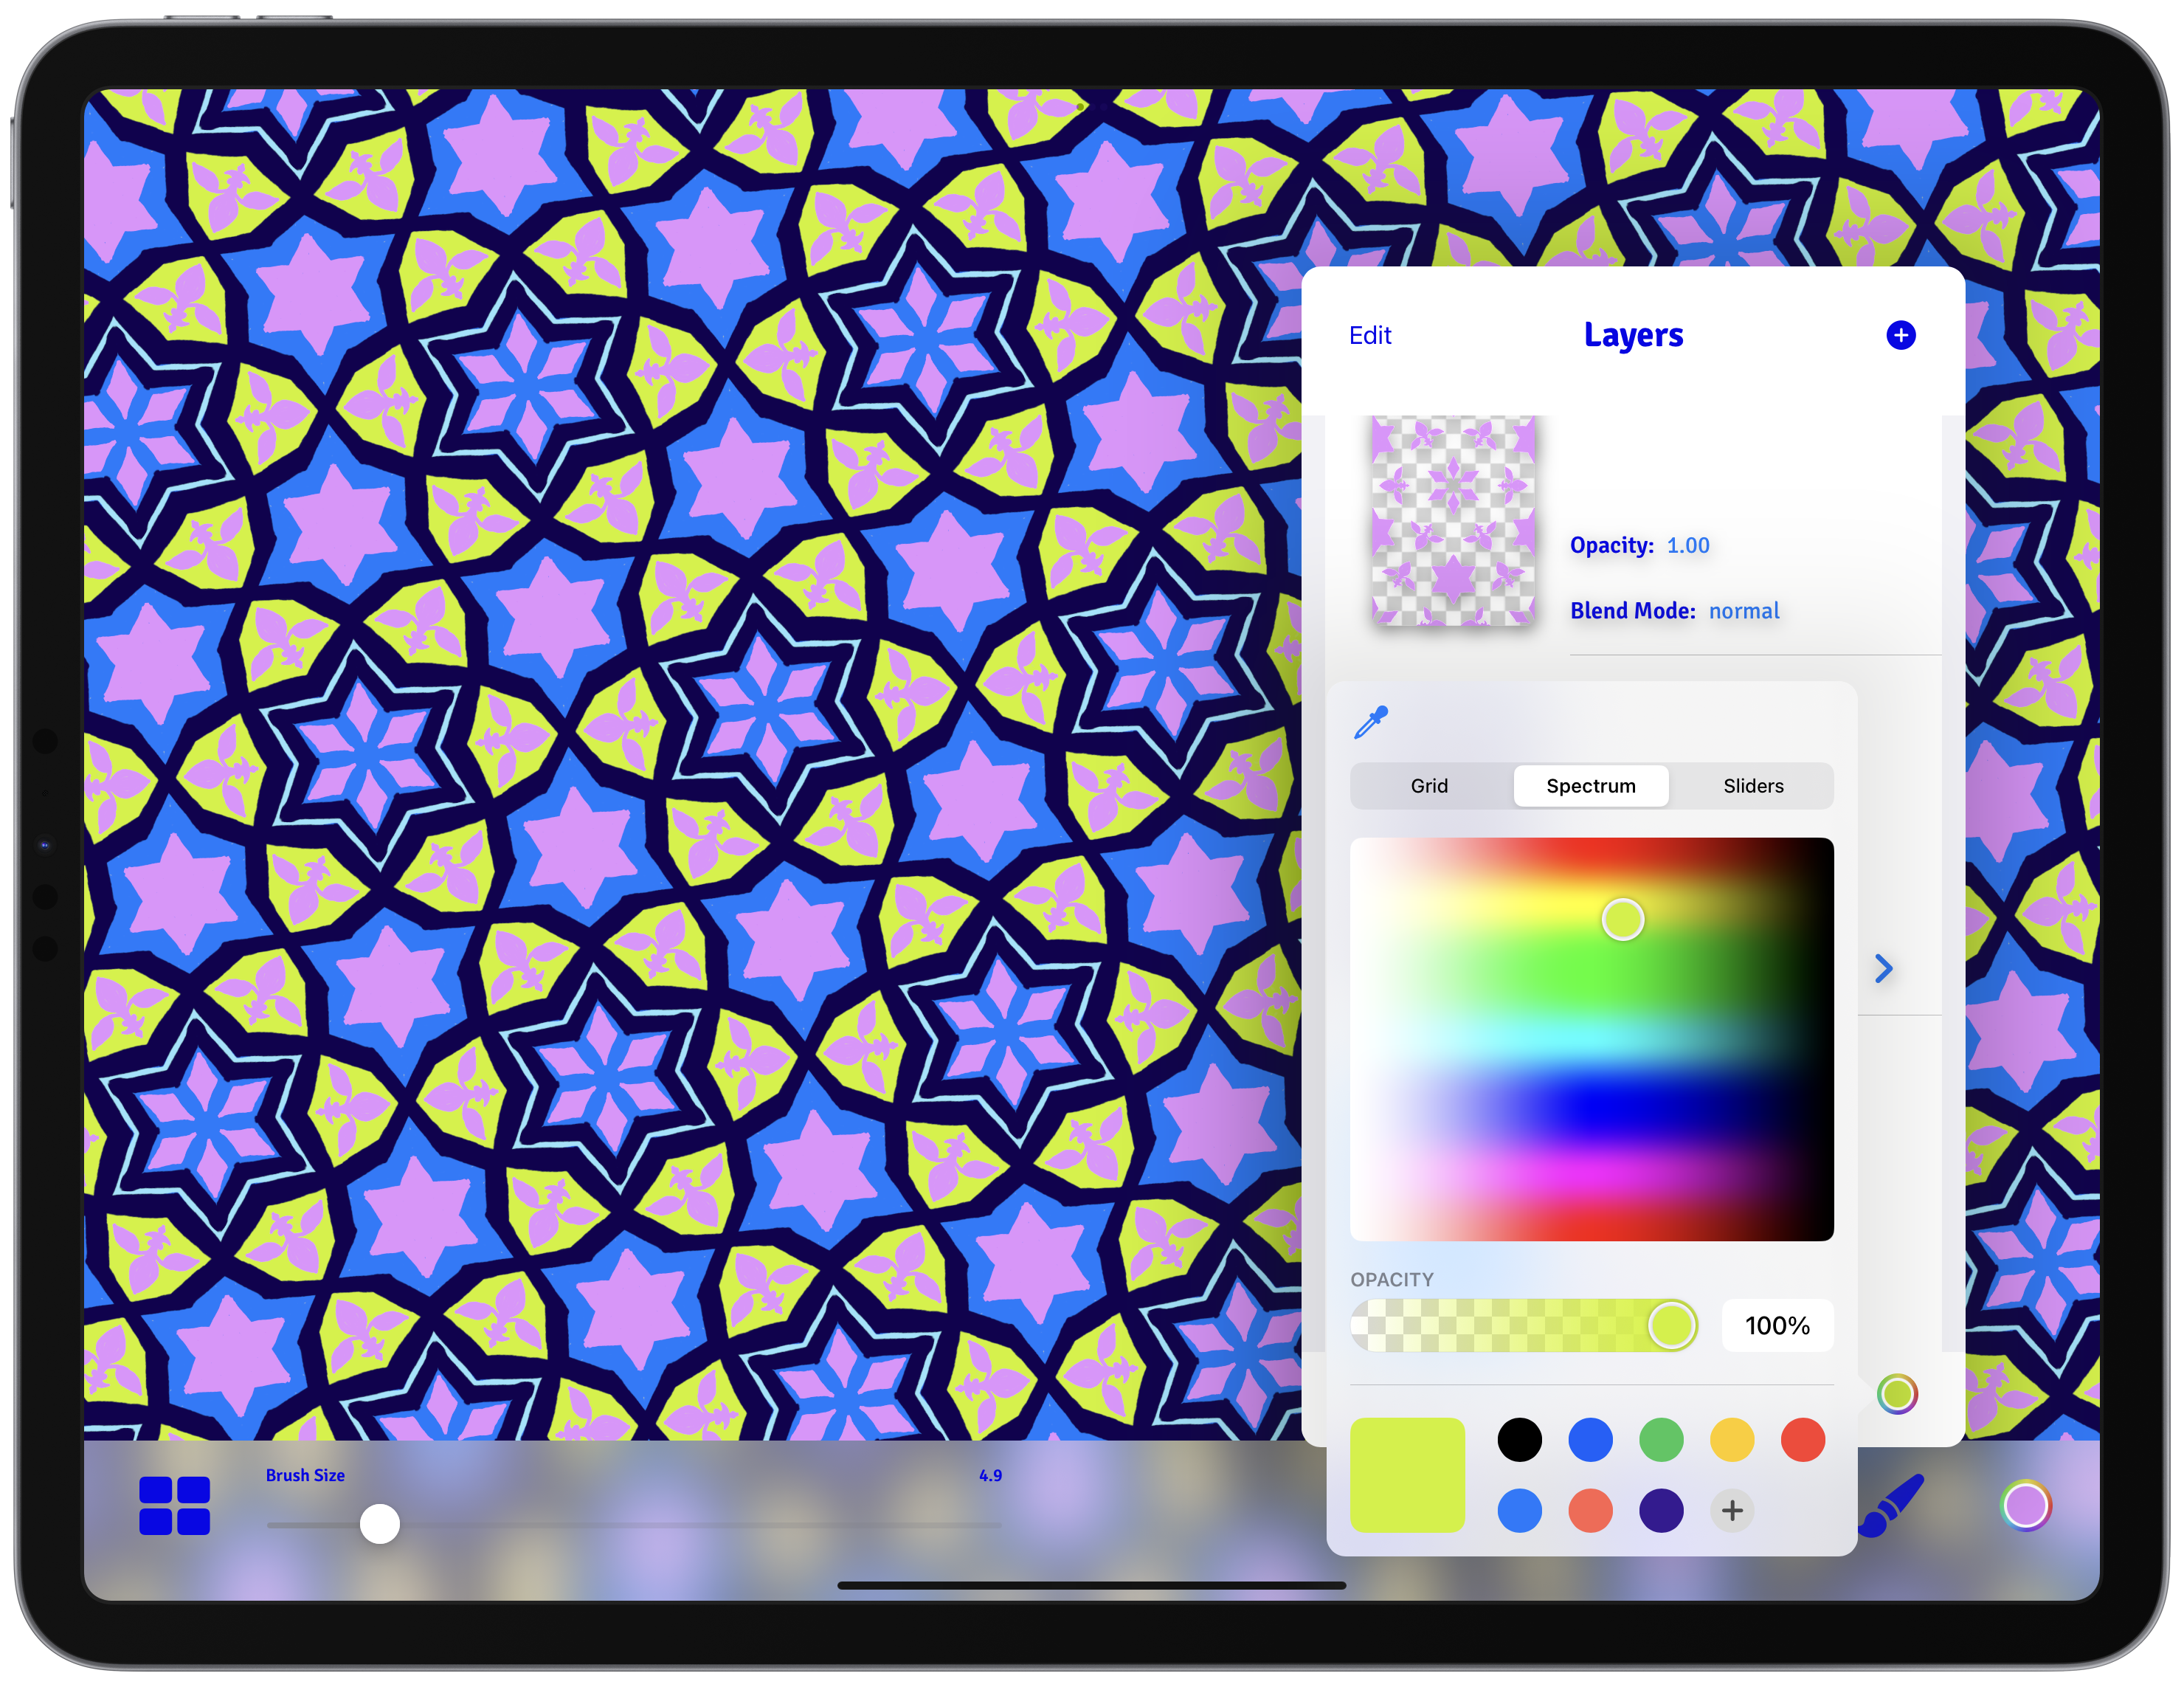
Note that you can also set the transparency of the background here.
Tapping on the current active layer will reveal the Layer Details view. From here you can control the layer opacity and blend mode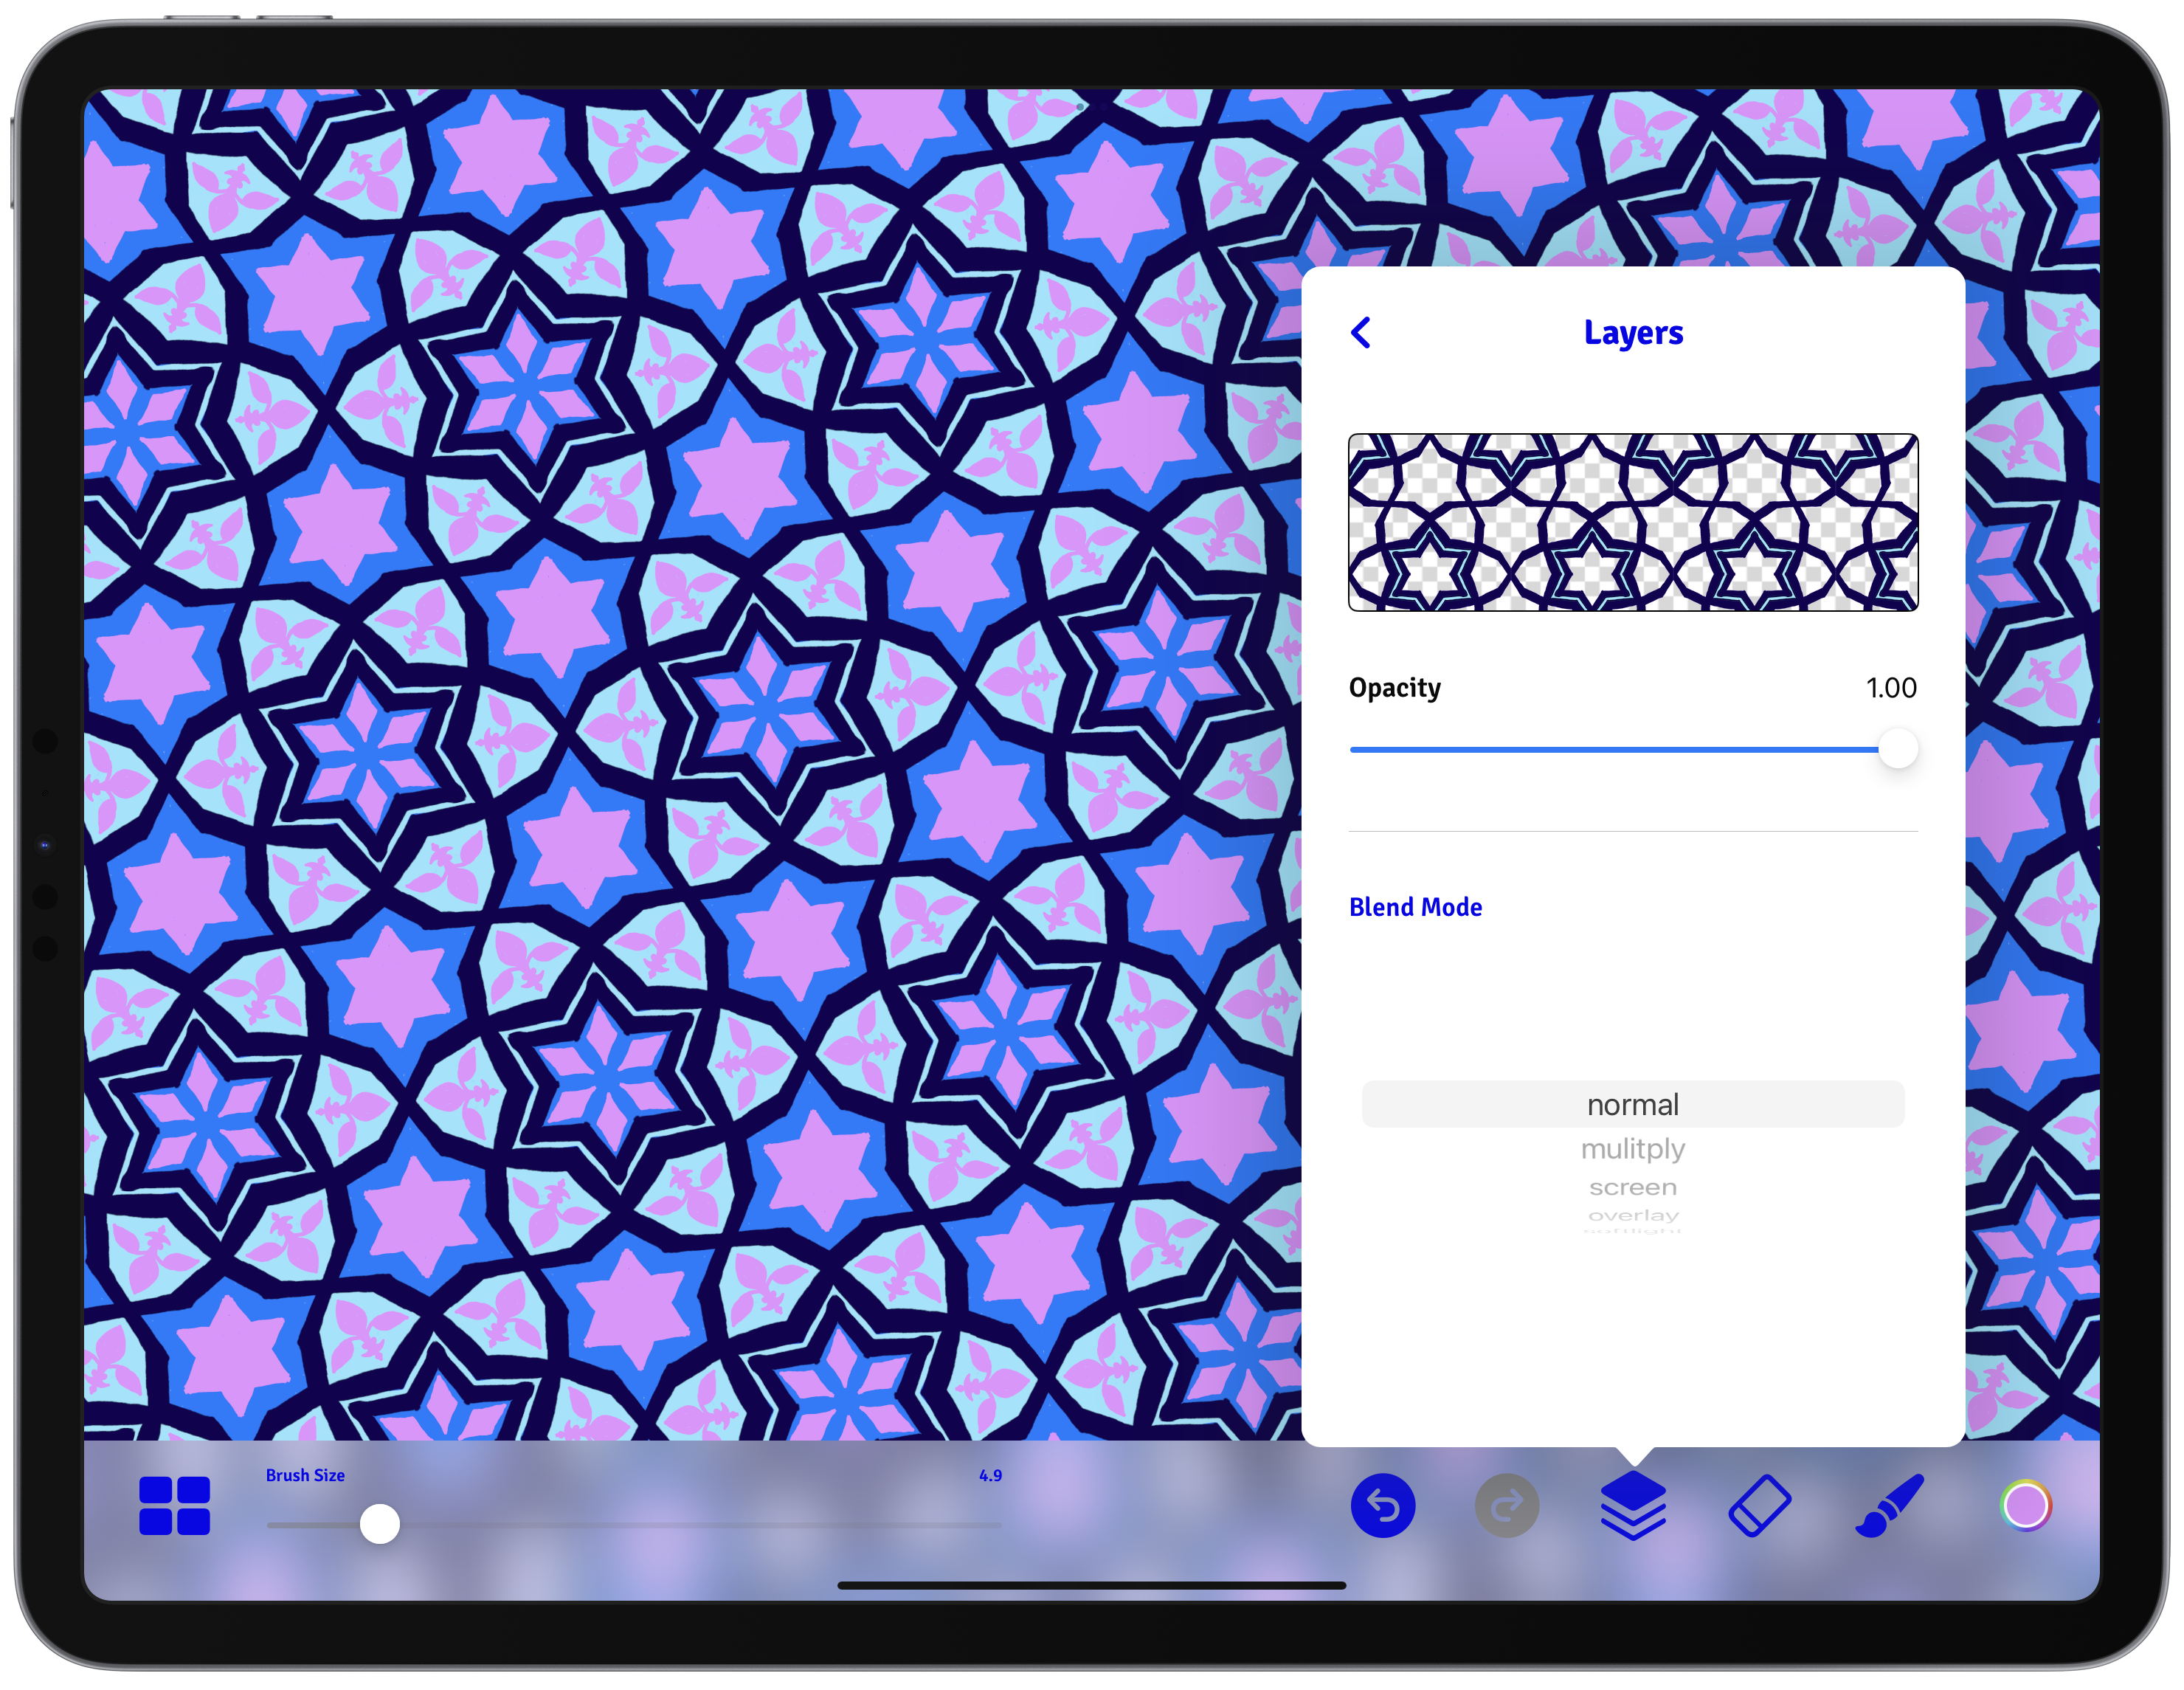
iSymmetry has 5 blend modes that effect how a layer is merged with the layers below.
This blend mode probably doesn’t need too much explanation. It’s the default mode and it basically means that whatever you paint or overlay will cover anything already there. Think of it like placing a sticker over a picture - the sticker hides whatever is underneath.
This blend mode is similar to taking two pieces of colored transparent sheets and overlapping them. Where they overlap, the colors combine and often become darker. So, if you’re painting with this blend mode, any area where you paint will make the colors underneath it darker.
This is almost like the opposite of Multiply. Instead of darkening, it lightens the colors underneath. To visualize this, think of two projectors projecting different colors on a screen - where the colors overlap, they’d combine to create a lighter color.
The overlay mode is a smart tool that combines Multiply and Screen. On areas that are light, it acts like Multiply and makes them darker, and on areas that are dark, it acts like Screen and makes them lighter. It’s a handy tool for enhancing contrast and color of an image.
This is often used for subtle fine-tuning. It’s similar to Overlay but its effects are much gentler, to the point where you might not even notice them. It’s like shining a soft light on a picture - it gently illuminates the light areas and softly darkens the darker areas.